
A Job Specification is a catalog of options selected by the customer for the house construction. The Job Specification is created on the basis of the pre-defined Specification Template which you further populate with the actual information about the order and preferred options.
The Job Specification includes paragraphs that further fall into sections with clauses. While going through the Job Specification you can specify information about customer’s requirements and current site facilities.
Producing the Job Specification
When you create a Job Specification, the system will automatically link Items and Components to specific paragraphs and sections based on the mappings from the Specification Template.
- If an Item or Component is linked with a specific paragraph, such Item or Component (from Quote Changes) will appear in the Specification as a section.
- If an item or Component is linked with a specific paragraph and section, such Item or Component (from Quote Changes) will appear in the Specification as a text under the selected section.
- On the list with Jobs, locate the one you want to populate the Job Specification for.
- Hover over the Job until the action icons appear.
- Click the Job Specification
 icon.
icon. - In the Select Job Specification Template form, select the Job Specification Template you want to use for the Job.
- Click Apply. The Job Specification page opens.
- On the Job Specification page, populate the Job Specification with the actual information about the Job. Switch between the paragraphs and sections and enter the required specification details. For sections with clauses, select the appropriate clause. To include the section and its text, check the corresponding boxes while filling out the Job Specifications.
- Once filled out, click Process. If you have not filled out some required information, the system will highlight the missing point in the Job Specifications.
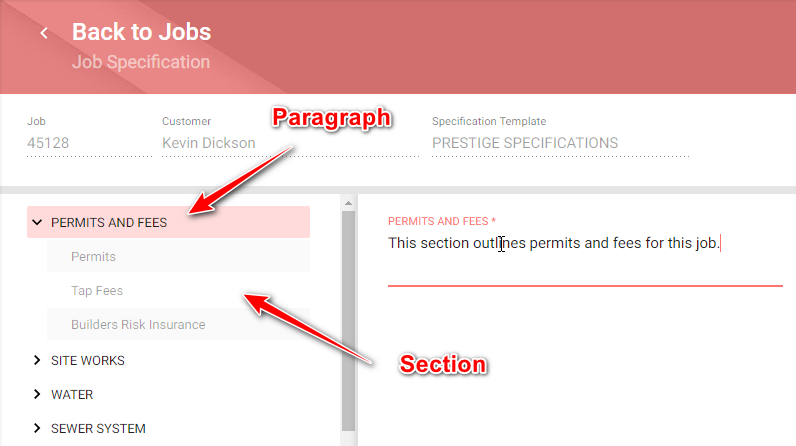
To fill out information for the paragraph:
- On the sidebar showing the paragraphs in the Job Specification document, select the paragraph you want to fill out.
- Enter information for the paragraph. If the paragraph is optional, you can skip it. If empty it will not be included into the Job Specification.
- When complete, click Process.
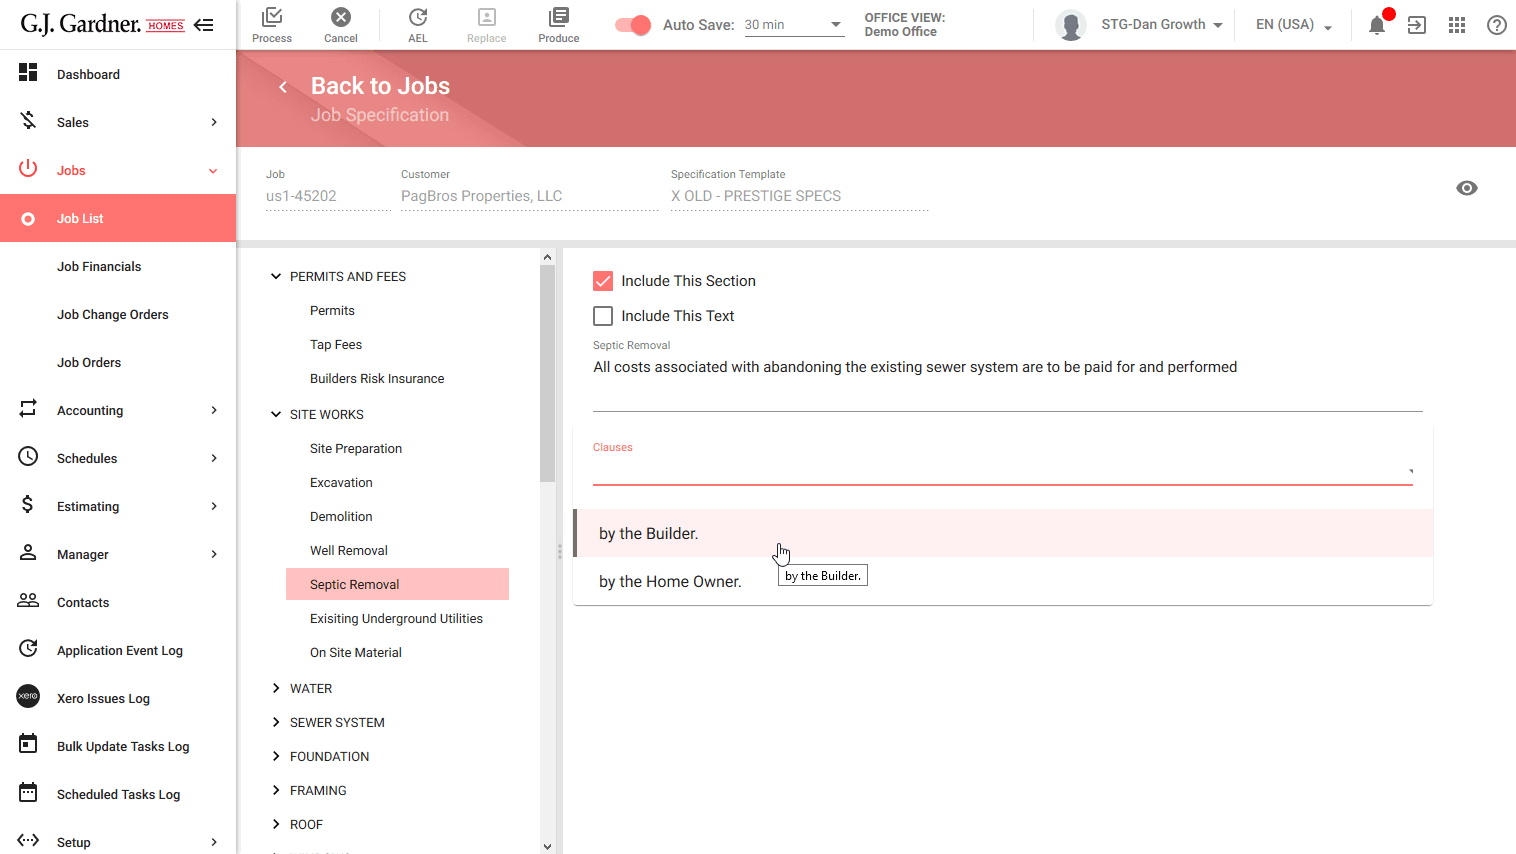
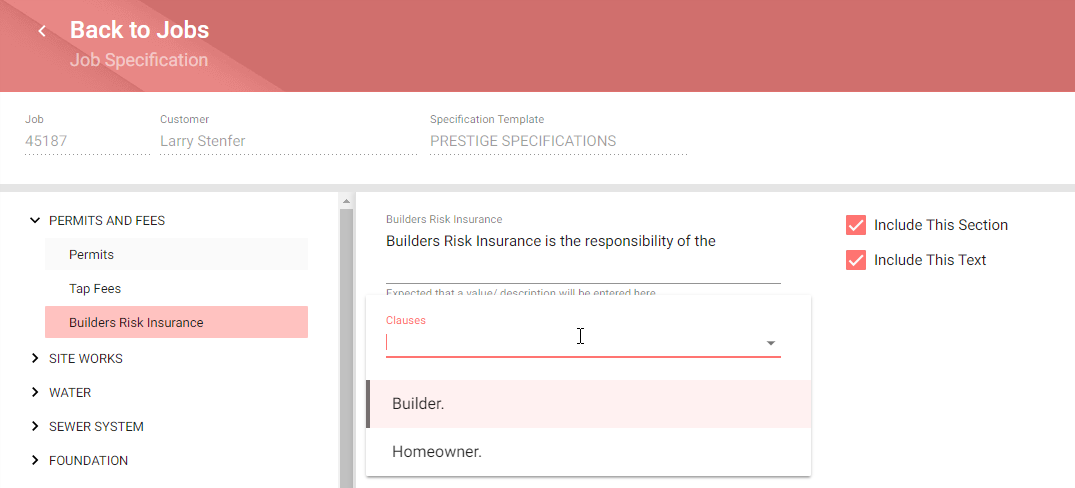
To fill out information for the section:
- On the sidebar showing paragraphs, select the paragraph, and then the section you want to fill out.
- If the section is optional and you want to include it into the Job Specification, check the Include This Section box. For mandatory sections, this check box is not shown.
- To include the text of the section, check the Include This Text box. Otherwise, only the clause will be included into the document.
- Select the clause from the prompted options. Alternatively, you can enter custom text instead of the provided options.
- When complete, click Process.
Managing Quote Changes in the Job Specification
You can manage Quote Changes in the Job Specification, as follows:
- view the list of Quote Changes
- move the Quote Changes to the Job Specification as sections or clauses
- hide Quote Changes in the Job Specification
To view Quote Changes:
The list of Quote Changes is shown in the bottom part of the screen under all sections of the Job Specification, as follows:
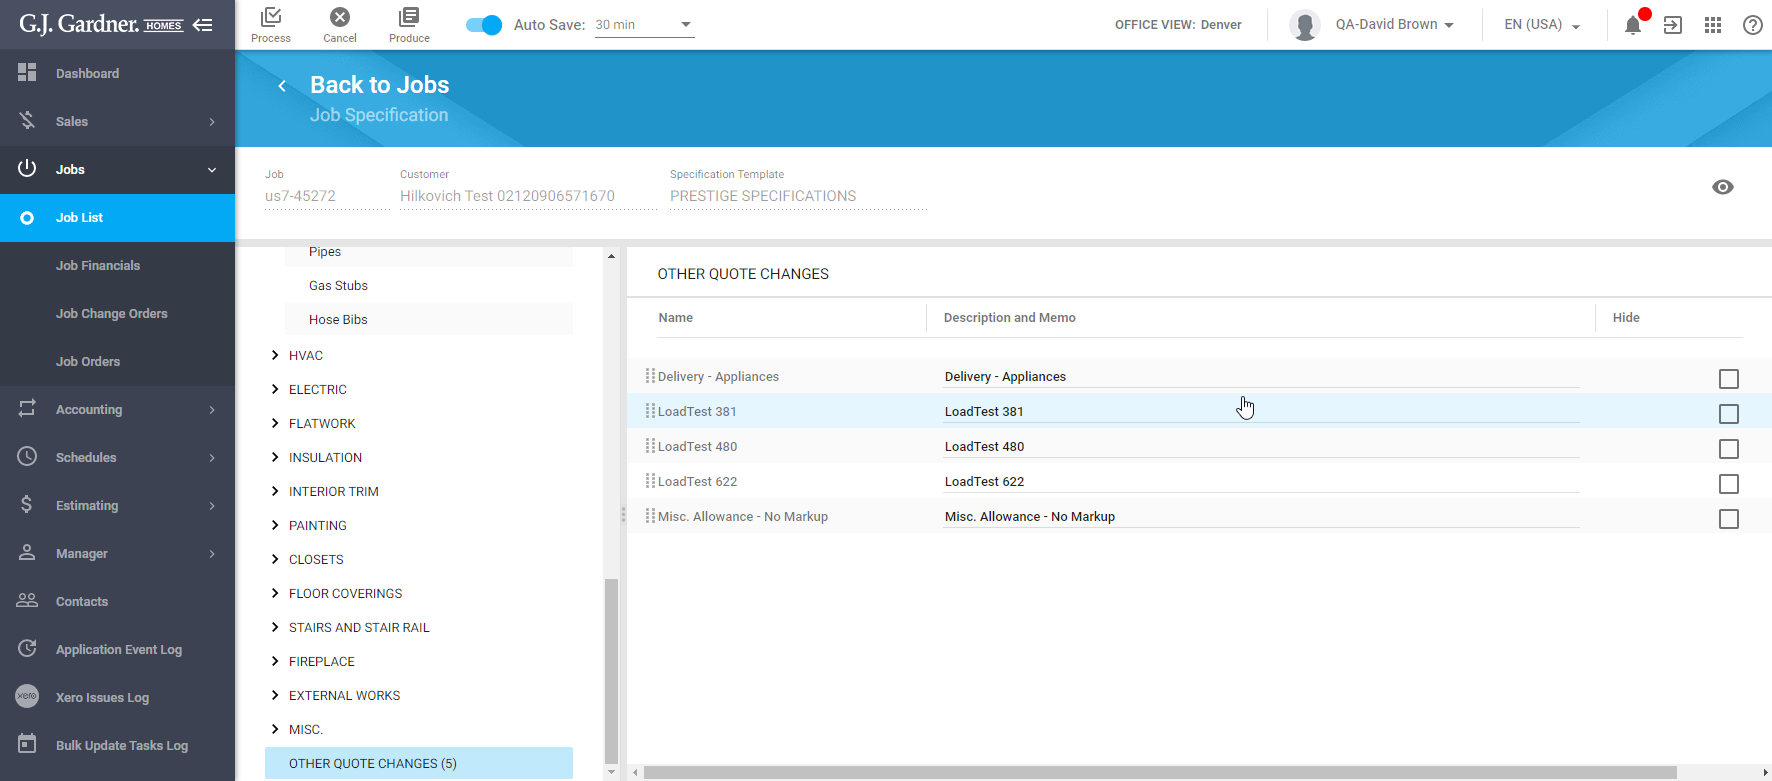
For each Quote Change the following information is shown:
| Name | Name of the Item (considered to be a Quote Change). |
| Description | Description and memo of the Item (considered to be a Quote Change). |
To move Quote Changes under the heading as a section:
You can place the Item from the Quote Changes list as a section under a specific heading in the Job Specification.
- On the list with other Quote Changes, locate the Item you want to move.
- Hover over the
 part of the Item from the Quote Changes list.
 - Drag the Item to the heading under which you want to place the Item from the Quote Changes list.
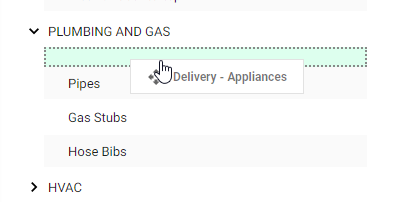
- Drop the Item.
- When complete, click Process.
If you need to return the Item back to the Quote Changes, click the Move back to Quote Changes![]() icon.
icon.
To move Quote Changes under the heading as a section:
You can place the Item from the Quote Changes list as a section under a specific heading in the Job Specification.
- On the list with other Quote Changes, locate the Item you want to move.
- Hover over the part of the Item from the Quote Changes list.
- Drag the Item to the section under which you want to place the Item from the Quote Changes list as a clause.
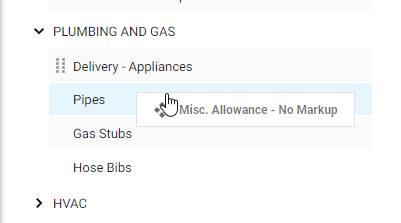
- Drop the Item.
- When complete, click Process.
If you need to return the Item back to the Quote Changes, click the Move back to Quote Changes ![]() icon.
icon.
To hide Quote Changes in the Job Specification:
You can hide specific Items or even the entire list of Items from the Quote Changes in the Job Specification.
- On the list with Quote Changes locate the Item you want to hide in the Job Specification.
- Check the box in the Hide column for this Item.
- When complete, click Process.
To preview the Job Specification:
- In the top right part of the screen, locate the Preview
 icon and click it. The system may require some time to generate the preview file of the Job Specification.
 - In the Link to Preview Job Specification form, click the link to the preview file. The Job Specifications file opens in a new tab.
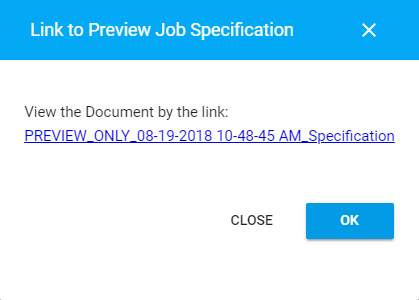
- When complete, click OK.
To replace the Job Specification:
You can replace the Job Specification if its structure is no longer actual for the Job.
- In the toolbar, click Replace. The system prompts you to confirm that the current Job Specification will be replaced with a new one.
- Click Yes if you want to replace the Job Specification.
- In the Select Job Specification Template form, select the Job Specification Template you want to use.
- Click Apply, the system replaces the current Job Specification with a new Job Specification loaded from the selected Job Specification Template.
- Click Process.
- Proceed with filling out the new Job Specification.
To produce the Job Specification:
- In the toolbar, click Produce. The system may require some time to generate the Job Specifications document.
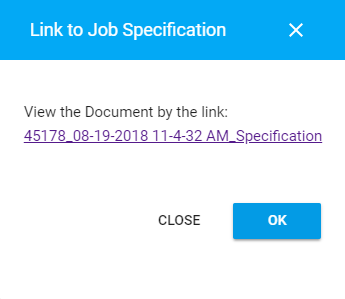
- In the Link to Job Specification form, click the link to the produced Job Specifications document. The document opens in a new tab.
- When complete, click OK.