Accounts Payable provides the facility to record supplier invoice details, these invoices (bills) can either be for Job Costs or Overhead costs. Both are entered in the same way and coded to reflect where the supplier amounts should go on your Profit & Loss.
Entering Bills into Xero
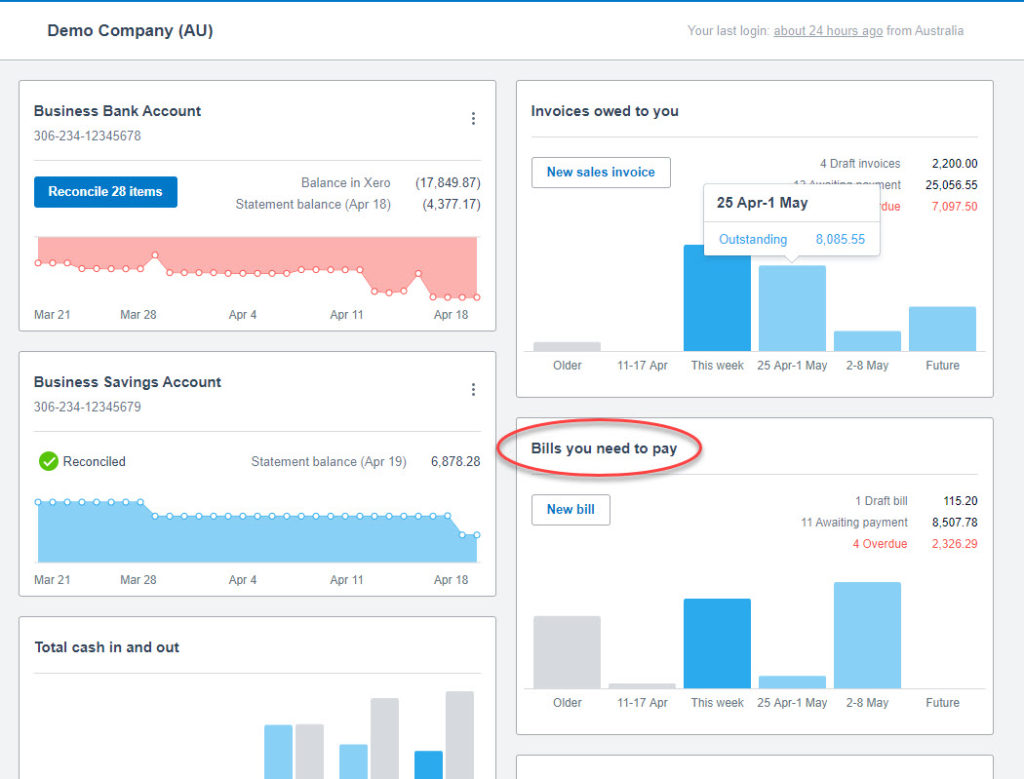
Bills you need to pay contains all the invoices received, regardless of whether they are job invoices or overhead invoices.
- From Xero Dashboard.
- Click on Bills you need to pay.
- Navigate to the Purchases Overview screen.
The Purchase Overview supplier invoice section shows all bills and their status.
Draft Invoices
Draft invoices are those that are in a preliminary form and editable, they are not yet recognised in the financials or any part of G.J. Software financial reports.

- Use the unique email address that is part of your Xero Files identity to forward the pdf of the invoice to your Xero file – this can be done daily. Steps to do this are included here
- The bill will appear as a draft for job invoices – add/check the following:
- Any pre populated information ie date is correct
- Correct contact information
- Ensure that the job number is added
- Ensure the cost centre(s) are recorded
- Correct GST code is used (AU & NZ)
All job invoices should only be coded to direct cost accounts – Subcontractors & Suppliers Account or Materials Account.
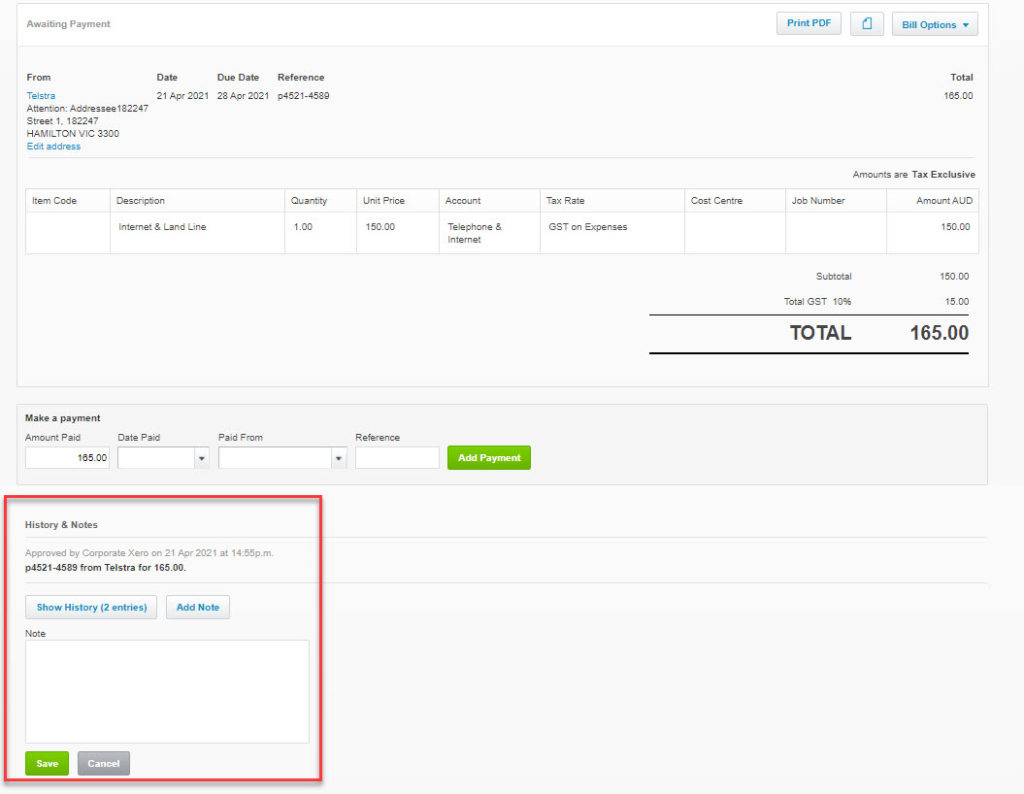
- Populate fields. If the invoice is for overhead costs (ie rent, telephone) there is no need to add a job number or cost centre – apply the expense to the correct expense code as set up in your chart of accounts. Any notes can be added as reference at the bottom of the transaction.
- Once the information is correct
- Click Save & Submit for approval button
Awaiting Approval

- At this stage job invoices need to be approved by the supervisor, overhead invoices should be approved by the franchisee or General Manager. Should the invoice not be ready for approval or is incorrect, it can stay as awaiting approval, invoices do not hit financial reports or GJ 5.0 until they are marked as approved.
- Click Awaiting Approval. The Franchisee or Supervisor will see a list of invoices in the Awaiting Approval Tab and will work through each invoice.
- Click Approve or Approve and add another on the drop down menu, the invoice will then move to the Awaiting Payment section.
Awaiting Payment


- Payments can be scheduled by the franchisee or staff member by adding a date in the planned date column. You should have two pay runs for supplier payments. One on the Friday each week for 7 day accounts and the other at the end of the month.
- As you add a planned date, the system creates a schedule of planned payments. Dates can be changed and moved as cash flow dictates. Once the schedule is ready to pay, click schedule of planned payment for the date required, it will populate the schedule with all the included invoices. Click on the tick box at the left hand side top of the list to include all invoices (deselect as required).
- The Batch Payment tab will be made available. Confirm selection.
- The make payments screen will appear. Select which bank account you wish to make the payment out of and continue to review bills section.
- Check all information is correct, bank account payment date. Add a payment reference i.e. end of month Dec 2020.
- Ensure the bank account details are correct. These can be added on this screen if none have been input on the contacts details for the supplier. Continue to payment summary.
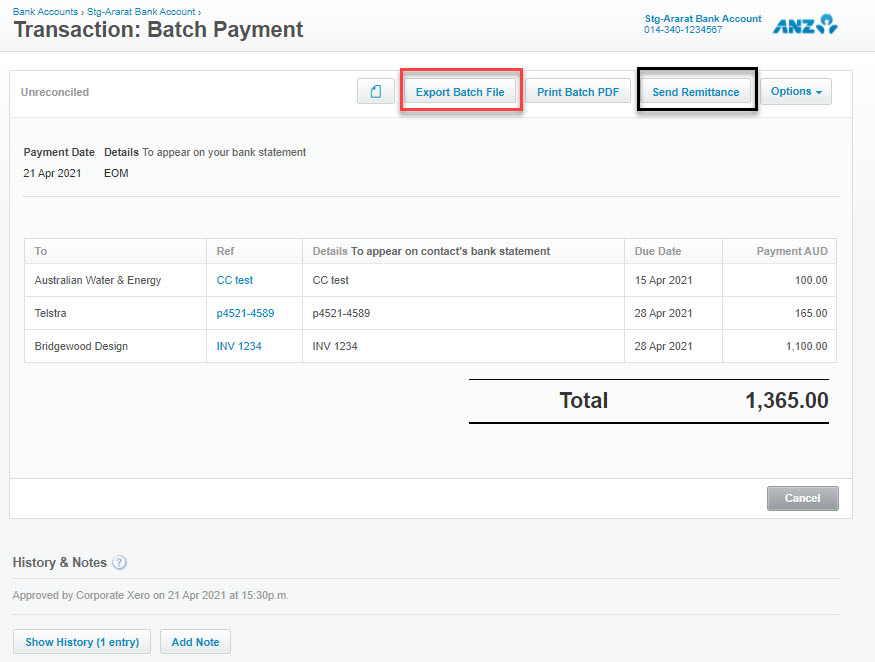
- Your batch is created, check details then click finish and view the batch.
- The completed batch payment is shown on the screen. The batch file can be downloaded for upload into your bank. Remittances can also be sent with the email address provided in the contact details.