
You can manage Sites for the Sales Folder. For each Sales Folder you can add several Sites. When producing an RFQ quote you can select the Site which the quote is created for.
- Initiate the RFQ Management for the Lead.
- Switch to the Sites tab.
On the Sites tab, you can see the list of Sites, as follows:
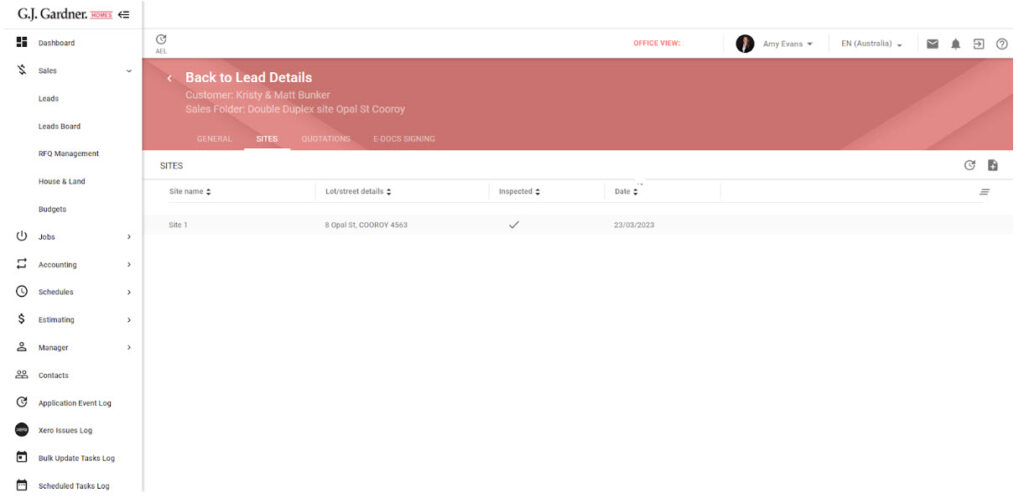
For each Site, the following information is available:
| Site name | Name of the Site that will display in a drop-down list when producing a quote. |
| Lot/street details | Information about the lot/street where the Site is located. |
| Inspected | Flag that the Site inspection was completed. |
| Date | Date when the Site inspection was completed. |
You can perform the following operations on Sites:
- add new Sites
- edit the existing Sites
- delete the no longer needed Sites
Adding a New Site
Above the list with Sites, locate the Add ![]() icon and click it.
icon and click it.
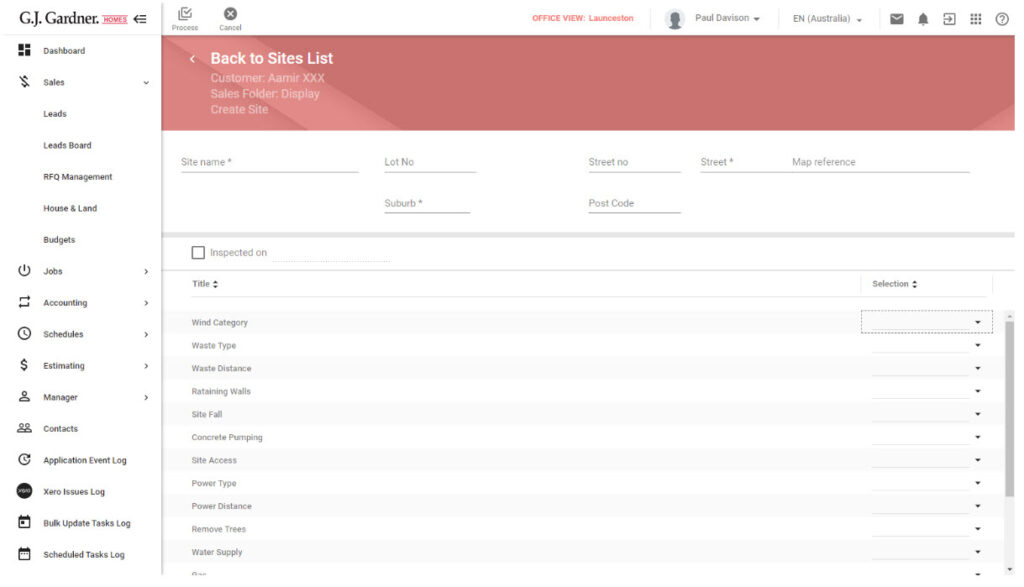
- On the opened page, specify information about the Site:
Site name Enter the name of the site being inspected. Lot no Enter the number of the lot. Block Enter the number of the block (if applicable). Street No Enter the number of the building on the street you specify next. Street Enter the name of the street where the site locates. Map reference Optional – Add Map Number and Grid Number (for example, Map 54, G7). Subdivision Enter the site subdivision (if applicable). Zip Code Enter the Zip code of the site. State Enter the state of the site. A.P.N. Enter the Assessor’s Parcel Number. Inspected on Check the box if the site inspection was completed. Pick the date when the site inspection was complete. - Use the drop-down lists to specify the actual state of inspected parameters of the Site. For example, you may need to enter information about waste distance, power distance, and so on. The set of parameters is defined in the Job Specification Template with the Set as default for Site Inspection flag.
- When complete, click Process.
Note
You can save the incomplete site inspection and return to it then.
Editing the Site
- On the list with Sites, locate the one you want to edit.
- Hover over the Site, until the action icons appear, click the Edit
 icon.
icon. - Make the appropriate modifications in the Site.
- When complete, click Process.
Deleting the Site
- On the list with Sites, locate the one you want to delete.
- Hover over the Site, until the action icons appear, click the Delete
 icon.
icon. - Confirm the permanent removal of the Site.
Note
You cannot delete the Site which is already used in the Printed Quote.